#241 Simple OmniAuth
- Download:
- source codeProject Files in Zip (101 KB)
- mp4Full Size H.264 Video (13.5 MB)
- m4vSmaller H.264 Video (9.23 MB)
- webmFull Size VP8 Video (23.8 MB)
- ogvFull Size Theora Video (18.5 MB)
몇 주 전에 에피소드 235 [동영상보기, 원문보기]와 236 [동영상보기, 원문보기] 에서 OmniAuth에 대한 설명을 한 바 있습니다. OmniAuth는 Twitter와 같은 타사 인증 서비스를 자신의 Rails 어플리케이션에 통합하는 것을 가능하게 합니다. 이 에피소드에서 보여드리는 시나리오는 이미 사용자 이름과 암호 시스템이 있는 어플리케이션에서 OmniAuth를 통합하는 상황이라서 다소 복잡했습니다. 또한 사용자들에게 여러가지 방법으로 인증을 받을 수 있도록 했습니다. 이와 같은 여러가지 추가기능이 필요없는 경우, OmniAuth만을 이용하여 인증과정을 처리할 경우, 훨씬 간단하게 구현할 수 있다는 것을 이 에피소드에서 소개합니다.
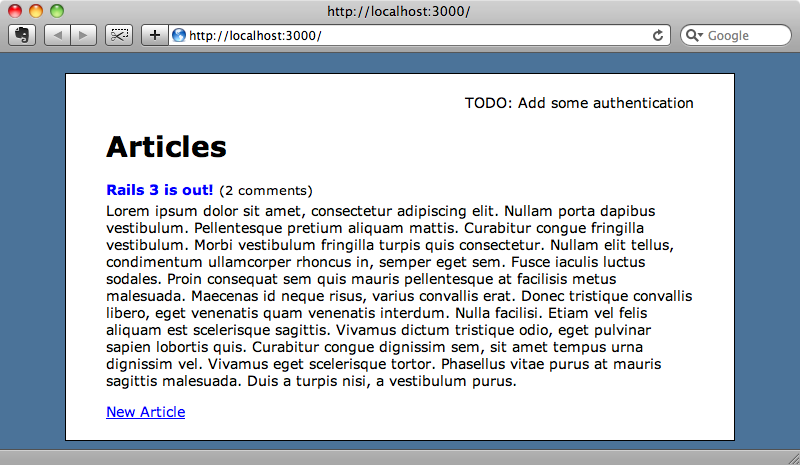
이번 에피소드에서 사용하게 될 어플리케이션은 이전에 사용했던 간단한 구조의 블로그 어플리케이션입니다. 현재, 인증 구조를 가지고 있지 않기 때문에 OmniAuth만을 사용하여 Twitter 인증 기능을 추가합니다. Authlogic, Devise 및 기타 인증 방법을 사용하지 않기 때문에 OmniAuth을 단순하게 만들수 있는 방법을 알게 될 것입니다.
먼저 OmniAuth 젬을 추가합니다. 현재 어플리케이션을 Rails 3를 이용하여 만들기 때문에 Gemfile에 아래와 같이 젬을 추가합니다.
gem "omniauth"잊지말고 bundler 를 실행하여 필요한 젬이 모두 설치되도록 합니다. 그 다음에, 구성 파일 omniauth.rb라는 초기화 파일을 만들어 OmniAuth 를 로드합니다. 이 파일에 OmniAuth를 로드하여 Twitter를 사용하도록 지정합니다.
Rails.application.config.middleware.use OmniAuth::Builder do
  provider :twitter, 'CONSUMER_KEY', 'CONSUMER_SECRET'
end
어플리케이션에 OmniAuth 를 미들웨어로 추가해 주는 것을 주목하기 바랍니다. OmniAuth은 Rack 미들웨어 아주 유사하여 어플리케이션과는 별도로 분리되어있다는 점에서 매우 뛰어납니다. 이렇게 하면 어플리케이션에 대해서 원하는 방식으로 인증을 구현할 수 있게 됩니다.
We have just one provider for authentication: Twitter. We’ll need to replace the CONSUMER_KEY and CONSUMER_SECRET values in the code above with real values. We can get these by signing up at the Twitter developer site and registering our application. Once we’ve done that we can get started with adding authentication to our application.
이제 인증 정보를 제공할는 Twitter 의 인증키값을 등록합니다. 여기서 CONSUMER_KEY 와 CONSUMER_SECRET 값을 실제 값으로 대체합니다. 이 값은 Twitter 의 개발자 사이트에서 사용자 정보를 입력하고 응용 프로그램을 등록한 후 사용할 수 있습니다. 등록이 끝나면 인증 기능을 위한 추가 작업을 시작합니다.
In our application’s layout file have some placeholder text that we’ll need to replace with a login link. This will link to the OmniAuth twitter URL which for our application is /auth/twitter.
<div id="user_nav">
  <%= link_to "Sign in with Twitter", "/auth/twitter" %>
</div>
Our application now has a sign in link and when we click it we’ll be redirected to Twitter’s web site and asked if we want to give the application access. If we click ‘allow’ we’ll be redirected back to our application where we’ll see a routing error.
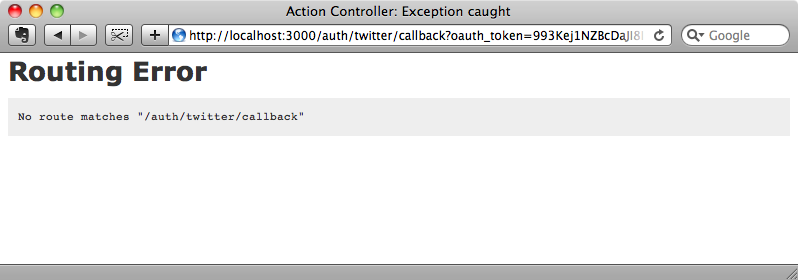
We see this error because the browser is redirected back to the callback URL that OmniAuth triggers after it has successfully authenticated. We’ll need to have a route in the application’s routes file to match this. To handle authentication we’ll create a new SessionsController and have the route redirect to its create action.
Blog::Application.routes.draw do |map|
  root :to => "articles#index"

  match "/auth/:provider/callback" => "sessions#create"

  resources :comments
  resources :articles
end
Note that we’ve replaced the twitter part of the URL with a :provider parameter so that the route will match authentication via any provider that we implement.
Next we’ll generate the new SessionsController.
$ rails g controller sessions
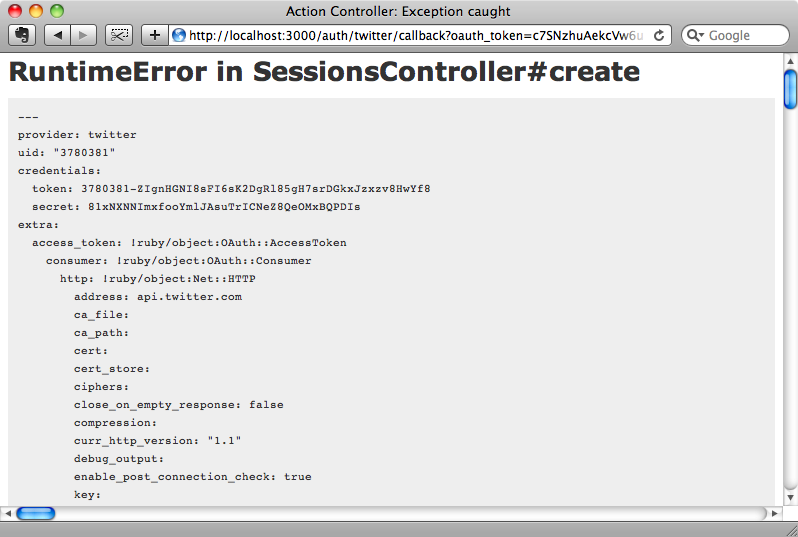
When the application returns from authenticating there’s an environment variable available called omniauth.auth that contains a hash of information about the authentication. For now we’ll show this information by raising it as an exception.
class SessionsController < ApplicationController
  def create
    raise request.env["omniauth.auth"].to_yaml
  end
end
If we sign in now we’ll see the information about our Twitter authentication displayed when we’re redirected back to our application.
We can use some of the information in this hash to either sign in an existing user or create a new user if no matching account is found. Our application doesn’t have a User model so we’ll need to generate one.
$ rails g model user provider:string uid:string name:string
It’s important that this model has provider and uid columns as these are the fields that we’ll be identifying user by when they login and we’ll also give the model a name field. Next we’ll migrate the database.
$ rake db:migrate
Now we can go back to the SessionsController and use the OmniAuth information to fetch or create a new user.
class SessionsController < ApplicationController
  def create
    auth = request.env["omniauth.auth"]
    user = User.find_by_provider_and_uid(auth["provider"], auth["uid"]) || User.create_with_omniauth(auth)
  end
end
In the create method we try to find a user by the provider and uid values from the OmniAuth hash. If no match is found then we create a new user using a class method on User called create_with_omniauth that we’ll write now.
class User < ActiveRecord::Base
  def self.create_with_omniauth(auth)
    create! do |user|
      user.provider = auth["provider"]
      user.uid = auth["uid"]
      user.name = auth["user_info"]["name"]
    end
  end
end
Note that in the method above we call create! with a block. This is useful as it allows us to modify the new user before it’s saved to the database and because it returns the new user. Now that we’ve written this method we can go back to the controller and finish writing the create method. We’ll store the user’s id in the session then redirect to the home page and display a flash message.
class SessionsController < ApplicationController
  def create
    auth = request.env["omniauth.auth"]
    user = User.find_by_provider_and_uid(auth["provider"], auth["uid"]) || User.create_with_omniauth(auth)
    session[:user_id] = user.id
    redirect_to root_url, :notice => "Signed in!"
  end
end
Now when we click the “Sign in with Twitter” link we’ll be signed in automatically behind the scenes (assuming that we’re already signed in to our Twitter account).
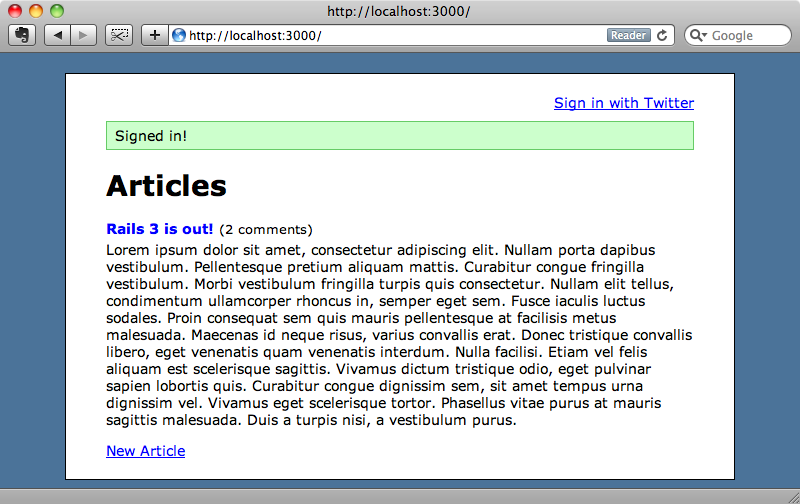
There’s a problem with the page, though. Although we have signed in the link at the stop still says “sign in”. Instead it should display the logged-in user’s name and give them a link to sign out.
We need a way to access the currently logged-in user so we’ll add a current_user method to the ApplicationController class. This method will get the current user based on the user_id in the session and cache the result in an instance variable. We’ll make it a helper method so that it can be accessed from views as well as controllers.
class ApplicationController < ActionController::Base
  protect_from_forgery
  helper_method :current_user

  private
  def current_user
    @current_user ||= User.find(session[:user_id]) if session[:user_id]
  end
end
We can now modify the layout file so that the sign-in link only shows when the user isn’t logged in. When they are we’ll show their name instead.
<div id="user_nav">
  <% if current_user %>
    Welcome, <%= current_user.name %>!
  <% else %>
    <%= link_to "Sign in with Twitter", "/auth/twitter" %>
  <% end %>
</div>
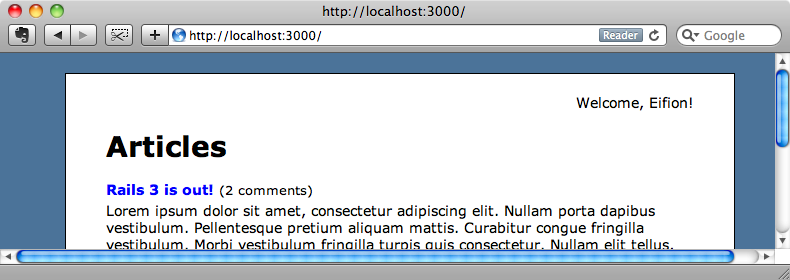
If we reload the page now we’ll see “Welcome, Eifion!” at the top as that is who we’re currently logged in as.
It would be handy to have a sign out link too so we’ll add one next to the user name. This will link to a signout_path that we don’t yet have.
<div id="user_nav">
  <% if current_user %>
    Welcome, <%= current_user.name %>!
    <%= link_to "Sign Out", signout_path %>
  <% else %>
    <%= link_to "Sign in with Twitter", "/auth/twitter" %>
  <% end %>
</div>
We’ll map the signout_path to the SessionController’s destroy action.
match "/signout" => "sessions#destroy", :as => :signout
Adding :as => :signout to the route allows us to reference the signout_path above. We’ll write the destroy action now.
def destroy
  session[:user_id] = nil
  redirect_to root_url, :notice => "Signed out!"
end
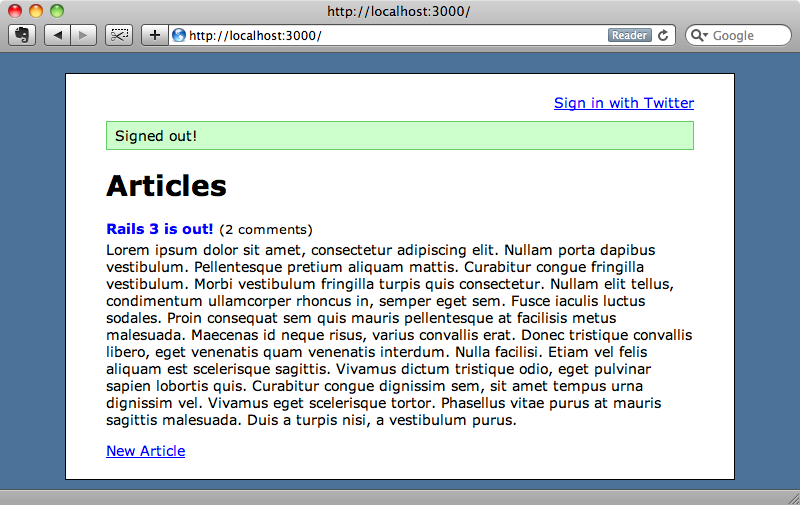
When we reload the page now there’ll be a sign-out link and when we click it we’ll be signed out.
Adding Other Providers
Because we’re using OmniAuth it’s easy to add other providers too. For example to add authentication via Facebook we can just add another link in the page layout.
<div id="user_nav">
  <% if current_user %>
    Welcome, <%= current_user.name %>!
    <%= link_to "Sign Out", signout_path %>
  <% else %>
    <%= link_to "Sign in with Twitter", "/auth/twitter" %>
    <%= link_to "Sign in with Facebook", "/auth/facebook" %>
  <% end %>
</div>
We’ll need to add the appropriate credentials to the omniauth.rb initializer file and then our application will support logging in through Facebook. We could add OpenId, LinkedIn or any of the other supported providers.
If you don’t need a traditional username and password authentication in your application and you don’t need to support multiple types of authentication per account this solution works very well and is simple to add to any application.


