#136 jQuery & Ajax (revised)
- Download:
- source codeProject Files in Zip (59 KB)
- mp4Full Size H.264 Video (33.1 MB)
- m4vSmaller H.264 Video (16.3 MB)
- webmFull Size VP8 Video (20.1 MB)
- ogvFull Size Theora Video (35.3 MB)
In this episode we’ll revisit the subject of jQuery and AJAX as the current episodes on these topics are a little out of date. This episode will be a little more beginner-focussed but it’s still an interesting topic so let’s get started.
A Task List Application
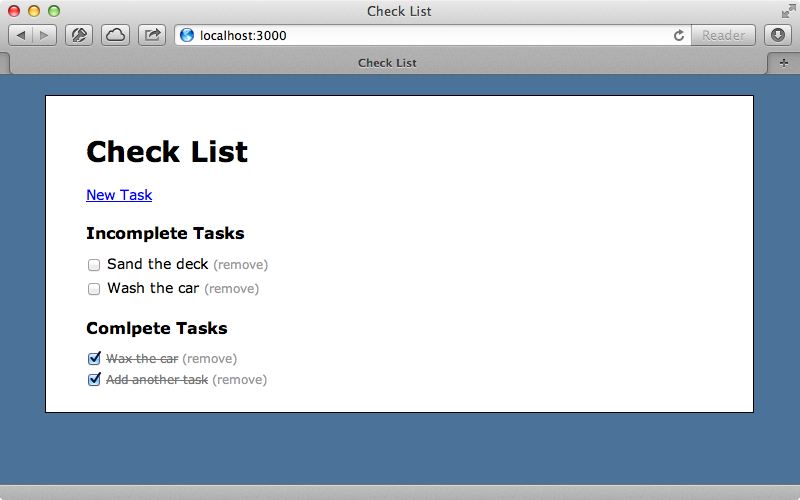
We have a simple task list application where users can create tasks, mark them as complete or remove them. Each of these actions requires the page to be fully reloaded. Our goal is to add AJAX so that this can be done without a page reload.
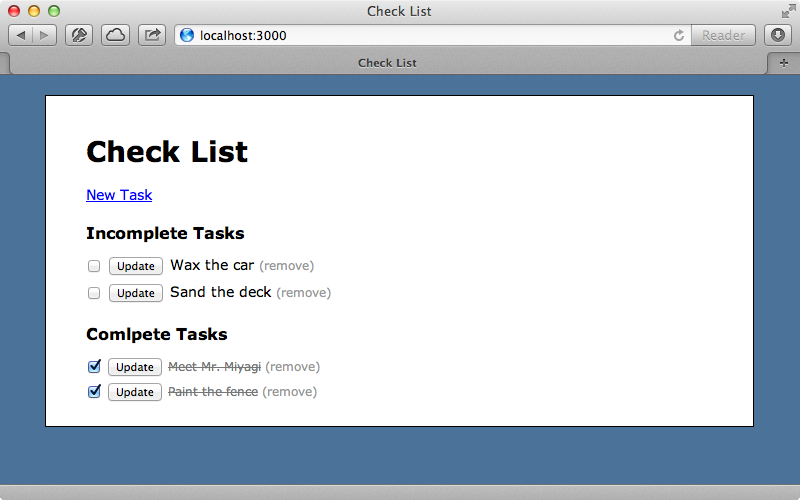
JQuery makes doing this much easier so it’s useful that Rails has jQuery included out of the box. This includes a file called jquery_ujs which stands for Unobtrusive JavaScript which adds some JavaScript behaviour without us having to add any JavaScript code inline in the HTML. We can see this in action if we click one of the “remove” links. Doing this brings up a confirmation dialog which is handled using JavaScript. If we look at the HTML for one of the links we won’t see any JavaScript, but we will see a data-confirm attribute. The jquery_ujs file picks up this attribute and adds the confirmation behaviour to the link.
<a href="/tasks/3" data-confirm="Are you sure?" data-method="delete" rel="nofollow">(remove)</a>
This element also has a data-method attribute which means that a DELETE request will be sent when the link is clicked instead of a normal GET request. If you’re curious about how this all works you can find this file on Github where we’ll find the code that adds the functionality to add link with a data-confirm attribute. A similarly useful attribute is called data-remote. This will help us a lot when we add AJAX functionality to our application. The first change we’ll make is to the “New Task” link so that it adds the form for a new task inline using AJAX. To make this link work with AJAX we just have to add a remote option and set it to true.
<%= link_to "New Task", new_task_path, id: "new_link", remote: true %>This adds a data-remote attribute to the link but when we click it nothing appears to happen. It can be a little difficult to debug an AJAX issue but there are steps that we can follow. First we should check the JavaScript console in the browser we’re running the application in for error messages. There aren’t any here so next we’ll check the Network tab to see if an AJAX request was made. When we do this we’ll see that a request for the tasks/new template is made and that we get a 200 OK response back from the server. It seems that that there was no error in our Rails application but if we look at the contents of the response we’ll see that it contains HTML which the JavaScript doesn’t know to deal with.
There are a number of directions we can go in from here. We could try to extract the form element from the response, we could have the server send JSON data back and parse that or we could the sever send some JavaScript back and execute that. This is the best approach in most situations and it’s what we’ll do here. Since we’re not doing anything in the new action, just rendering a template, we’ll create a new template specifically for JavaScript. The first thing this template should do is hide the “new task” link. This link has an id of new_link which we can use to find the element with jQuery by using that id with a hash symbol before it, in a similar way to how we’d reference it from CSS. We can then call the hide function on this.
JQuery often returns the current selection of elements from a function so that we can chain functions together. We’ll add the form immediately after the link by calling after and passing it a string of HTML. We’ll render this through a partial by calling render and passing in the name of the partial. As we’re inserting HTML directly into JavaScript we need to escape it by passing it to the j method.
$('#new_link').hide().after('<%= j render("form") %>');Now when we click the link it’s instantly replaced by the form for adding a task.
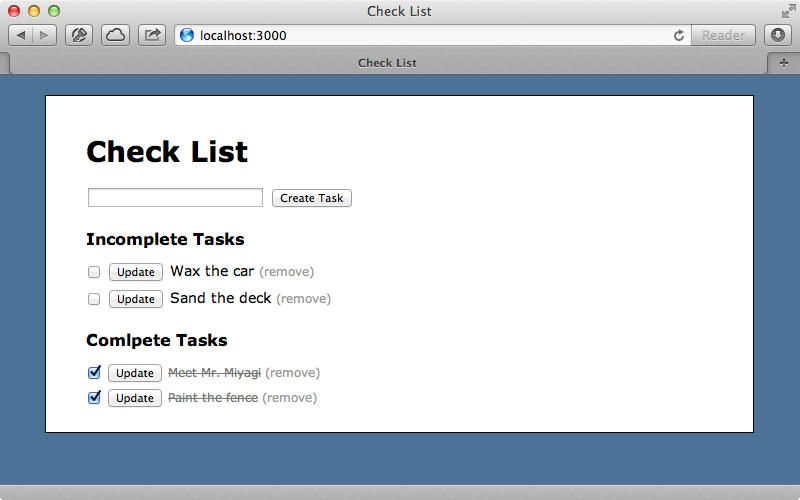
When we submit this form, however, it does a full page reload as the form isn’t configured to submit its data through an AJAX call. This is easy to fix: we can modify the partial where we render the form and add the remote option.
<%= form_for @task, remote: true do |f| %>
  <%= f.text_field :name %>
  <%= f.submit %>
<% end %>
We also need to modify the create action to respond to JavaScript requests. We can’t add a template this time as the action has some redirect behaviour for HTML requests. We don’t want JavaScript requests to do this so we’ll add a respond_to block so that we can change the behaviour based on the request’s format.
def create
  @task = Task.create!(params[:task])
  respond_to do |format|
    format.html { redirect_to tasks_url }
    format.js
  end
end
Now HTML requests will respond with the redirect but as we’ve left the js block empty we can render a template for JavaScript requests. This template will do several things: it will remove the form, show the “new task” link again and finally add the new task to the list of incomplete tasks. The page has a div with an id of incomplete_tasks and we’ll append the new task to it. Again we’ll do this by rendering a partial, using use the j method to escape the HTML that it returns.
$('#new_task').remove();
$('#new_link').show();
$('#incomplete_tasks').append('<%= j render(@task) %>');
Now when we create a new task it’s all done without the page being reloaded.
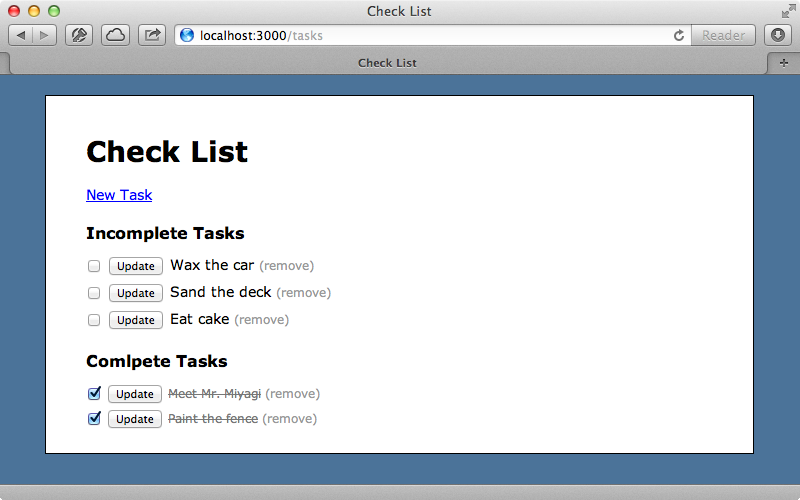
We can easily repeat this process for the “remove” links as removing a task currently reloads the page. This link is in the task partial and first we need to add the remote option to it.
<%= link_to "(remove)", task, method: :delete, data: {confirm: "Are you sure?"}, remote: true %>In the controller’s destroy action we perform a redirect so we’ll need a respond_to block like we’ve added to create for handling a JavaScript response.
def destroy
  @task = Task.destroy(params[:id])
  respond_to do |format|
    format.html { redirect_to tasks_url }
    format.js
  end
end
Next we’ll make the new JavaScript template. In it we want to remove the task so we’ll need a way to reference it. If we look back in the partial that renders the task we’ll see that the link is inside a form for editing the task. Rails automatically assigns an id to the form of the form edit_task_n where n is the task’s id. We can use erb to fetch this from the task record that’s set in the controller then use that entire id to remove the record.
$('#edit_task_<%= @task.id %>').remove();Now when we click the “remove task” link and confirm it the task is removed without the page reloading.
Marking a Task As Complete
Next we’ll tackle marking a task as complete. To do this we have to check the checkbox for an item and click the “Update” button, which is a little clunky. What we want to do is remove the button and have checking the checkbox submit the form and update the item. We can do this with some custom JavaScript that we’ll write inside the tasks.js.coffee file. This, as its name suggests, expects CoffeeScript code. If you’re unfamiliar with CoffeeScript, or you just prefer JavaScript, you can remove the .coffee extension and write JavaScript in this file which is what we’ll do. We need to listen to each checkbox’s click event and we can select these by finding all the input elements with a type of checkbox within the form. The form has a class of .edit_task which we can use to select that. We’ll listen to these checkboxes’ click events by calling click on these elements and passing in a function. For now we’ll show an alert when a checkbox is clicked.
$('.edit_task input[type=checkbox]').click(function () {
  alert('clicked');
});
When we reload the page and click on of the checkboxes nothing happens. There are no errors in the JavaScript console so what’s wrong? The problem is that this JavaScript is interpreted as soon as it’s loaded in at the top of the page. The rest of the HTML document hasn’t been loaded at this point and so the checkboxes don’t exist at that point. We have to delay this code from being executed until the entire page has loaded. JQuery provides a convenient way to do this by passing a function to its $ function. Any code inside this function won’t be run until the page’s DOM has completely loaded.
$(function () {
  $('.edit_task input[type=checkbox]').click(function () {
    alert('clicked');
  });
});
When we reload the page now the alert shows so all we need to do now is replace the alert with code to submit the form. To do this we call $(this) to get the current element, i.e. the checkbox that’s been checked, then call parent on that to get the parent form. Calling submit() on this will submit the form. We also want to remove the button on each form and we can do this getting the input elements with a type of submit and calling remove on them.
$(function () {
  $('.edit_task input[type=submit]').remove();
  $('.edit_task input[type=checkbox]').click(function () {
    $(this).parent('form').submit();
  });
});
When we reload the page now the buttons have disappeared and if we check one of the checkboxes next to an incomplete task the form is submitted and the task is marked as completed.
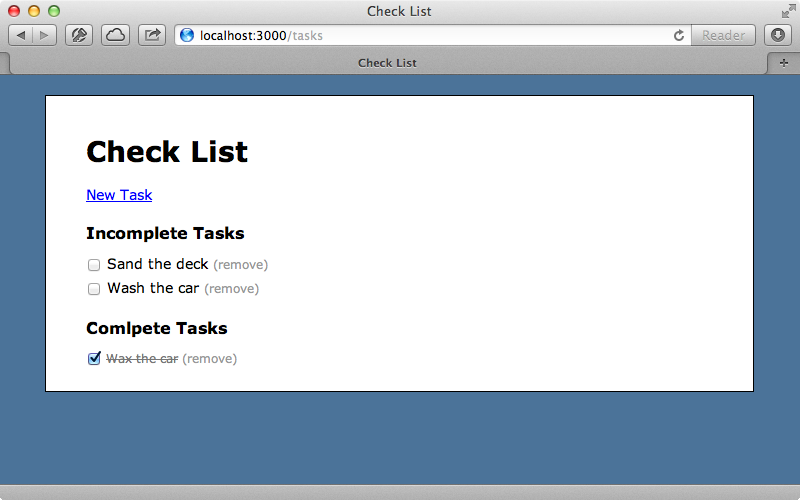
This works the other way, too. Unchecking a completed task will submit the form and move it back to the incomplete tasks list. We just need to AJAX-enable this form now so that the whole page isn’t reloaded when a task is moved. Again we do this by marking the form as remote.
<%= form_for task, remote: true do |f| %>In the TasksController we need to respond to the update action so that it responds to HTML and JavaScript differently like we did with create and destroy.
def update
  @task = Task.find(params[:id])
  @task.update_attributes!(params[:task])
  respond_to do |format|
    format.html { redirect_to tasks_url }
    format.js
  end
end
Finally we’ll make a JavaScript template for update. This will contain code to move the changed task to the other list.
<% if @task.complete? %>
  $('#edit_task_<%= @task.id %>').appendTo('#complete_tasks');
<% else %>
  $('#edit_task_<%= @task.id %>').appendTo('#incomplete_tasks');
<% end %>
We’ve been using a lot of jQuery functions in this episode. We can find documentation for all these on the jQuery Documentation site and we can find the appendTo function’s documentation in the Manipulation section.
Creating a jQuery Plugin
Our application is now pretty much complete. We can now move tasks from one list to the other or create new tasks without having to reload the entire page. There is still a small bug in our application, however. If we add a new item then try to check it to mark it as complete we see two issues. One is that the update button shows for that task; the other is that checking the checkbox doesn’t move the task to the other list. The problem is that the code that removes the button and submits a form when a checkbox is checked is run when the page first loads and so won’t apply to any new tasks that are created later. One way to solve this is to move this code out into a function that we can call whenever we create a task. This is a good chance to demonstrate how jQuery plugins work. A plugin is essentially a function that we can call against a matching set of elements. We want to write one that will add the behaviour to any form. We’ll call it submitOnCheck and we’ll use it like this:
$(function () {
  $('.edit_task').submitOnCheck();
});
Getting this to work is fairly easy. We can create a plugin by calling jQuery.fn and the name of our plugin and we set this to a function. Inside this function we can reproduce the functionality we had earlier. The only difference is that instead of hard-coding the name of the form in the selector we use this to get the form elements that the plugin was called on.
jQuery.fn.submitOnCheck = function () {
  this.find('input[type=submit]').remove();
  this.find('input[type=checkbox]').click(function () {
    $(this).parent('form').submit();
  });
  return this;
};
Note that the function returns the forms at the end so that we can chain other elements onto our selector.
With this code in place we can change the create template where we render out a new task. This creates the form that we want to add our plugin’s functionality to and all we need to do is call submitOnCheck on the form immediately after we create it.
$('#new_task').remove();
$('#new_link').show();
$('#incomplete_tasks').append('<%= j render(@task) %>');
$('#edit_task_<%= @task.id %>').submitOnCheck();
Now when we create a task it’s “update” button is hidden and checking its checkbox moves the task to the Completed list.
Our AJAX functionality is now complete. Earlier we decided to write some of our code in JavaScript rather than in CoffeeScript. For completeness here’s the CoffeeScript version.
jQuery.fn.submitOnCheck = ->
  @find('input[type=submit]').remove()
  @find('input[type=checkbox]').click ->
    $(this).parent('form').submit()
  this

jQuery ->
  $('.edit_task').submitOnCheck()
If you’re interested in learning about CoffeeScript episode 267 covers getting started with it.


